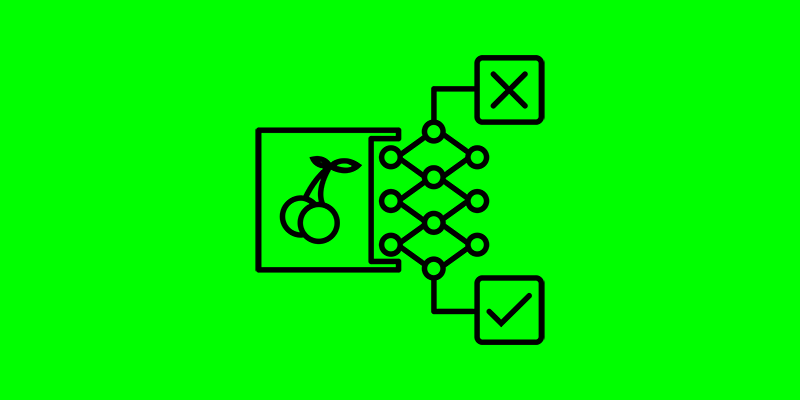
Day 4: Building an Image Classifier
Welcome back to our image classification journey! Now that we’ve prepared our dataset, it’s time to build and train the model. In today’s blog post, we’ll walk through the process of designing the architecture of our image classifier, compiling the model, and training it on the preprocessed dataset. By the end of this post, you’ll have a solid understanding of how to construct the foundation of your image classifier using convolutional neural networks (CNNs).
Designing the Architecture
The architecture of our image classifier defines the structure and behavior of the neural network. It consists of layers that transform the input data into meaningful representations and ultimately make predictions about the input images. In our case, we’ll use a CNN architecture, which is well-suited for image classification tasks due to its ability to capture spatial hierarchies of features.
Compiling the Model
Once we’ve designed the architecture of our model, the next step is to compile it. Compiling the model involves specifying the loss function, optimizer, and evaluation metrics that the model will use during training. The choice of these components depends on the nature of the classification problem and the desired behavior of the model.
Training the Model
With the model compiled, we’re ready to train it on the preprocessed dataset. During training, the model learns to associate input images with their corresponding labels by adjusting its internal parameters (i.e., weights and biases) through a process called backpropagation. The training process involves iterating over the dataset multiple times (epochs), gradually refining the model’s predictions and improving its performance.
Example Code: Building and Training the Model
Let’s implement the building and training of our image classification model using TensorFlow’s Keras API:
import tensorflow as tf
from tensorflow.keras import layers, models

# Define the CNN architecture
model = models.Sequential([
    layers.Conv2D(32, (3, 3), activation='relu', input_shape=(32, 32, 3)),
    layers.MaxPooling2D((2, 2)),
    layers.Conv2D(64, (3, 3), activation='relu'),
    layers.MaxPooling2D((2, 2)),
    layers.Conv2D(64, (3, 3), activation='relu'),
    layers.Flatten(),
    layers.Dense(64, activation='relu'),
    layers.Dense(10, activation='softmax')
])

# Compile the model
model.compile(optimizer='adam',
              loss='sparse_categorical_crossentropy',
              metrics=['accuracy'])

# Train the model
history = model.fit(x_train, y_train, epochs=10, validation_data=(x_test, y_test))
In this code snippet, we define a CNN architecture similar to what we introduced earlier. We compile the model with the Adam optimizer and sparse categorical crossentropy loss function. We then train the model on the preprocessed CIFAR-10 dataset for 10 epochs, using the validation data for monitoring model performance during training.
Conclusion
In today’s blog post, we’ve laid the foundation for our image classifier by building and training the model. By designing the architecture, compiling the model, and training it on the preprocessed dataset, we’ve taken a significant step towards creating an effective image classification system.
In the next blog post, we’ll explore techniques for evaluating the performance of our trained model and fine-tuning its parameters to improve accuracy and generalization. Stay tuned for more insights and hands-on examples!
If you have any questions or insights, feel free to share them in the comments section below. Happy model building, and see you in the next post!